Puttying the walls under the wallpaper
Putty walls - a preparatory phase of work before decoration. This composition evens the surface and eliminates defects in the building base, which simplifies the process of wallpapering.
The content of the article
Why wall putty?
Whether it is necessary to putty walls under the wallpaper - professional masters answer this question positively. Such work gives the following results:
- eliminates defects in the building base;
- levels the surface;
- facilitates wallpapering.
Non-professional masters also have a question, why putty the walls under the wallpaper, if the surface is made of drywall? In this case, the composition fills the joints, and also protects the material from damage during dismantling of the finish coating.
Therefore, the answer to the question whether walls should be puttied under the wallpaper will be positive, no matter what material the surface is made of.

Types of putty
If we talk about how to putty the walls under the wallpaper, then it all depends on the purpose, surface condition and budget. The composition is divided into several types. Having familiarized with the characteristics of each of them, it is easier to make a decision than it is better to putty the walls under the wallpaper.
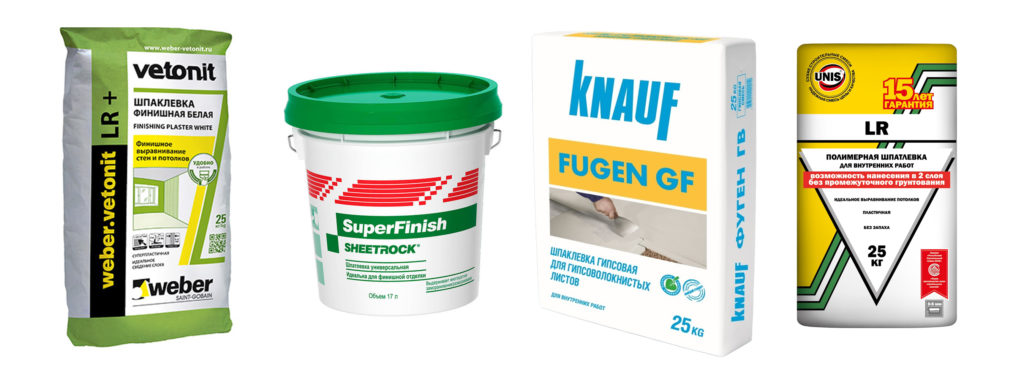
Ready to use
Classification according to the readiness of the product for use:
- Ready composition. Available in sealed containers of different volumes. The product is ready to use and is used immediately after opening the bucket. If you need to take a break from work, then the putty is simply closed with a lid. This will protect the composition from drying out. When work continues, the lid is removed and the product is used as intended.
- Dry mix. Available in paper bags. Such a composition needs to be prepared. It is diluted with water and mixed with a special construction mixer or drill with a mixer nozzle to the desired density. The prepared product is not subject to storage, so a break in work is not possible until the entire composition is used.
By application sequence
Classification by application sequence:
- Starting lineup. This is a coarse-grained mixture to eliminate surface defects. It is put by the first layer.
- Finishing mix. It is a fine-grained composition. The mixture is designed to level the surface. It is applied with a top coat.
- Universal putty. The composition is used for both the starting and finishing layers.
In composition
Putty classification by composition:
- Cementitious agent. It is used for both indoor and outdoor use. Putty has moisture resistance, therefore, it is recommended for use in rooms with high humidity.
- Gypsum mixture. Used for interior decoration. The plaster composition not only smoothes the surface, but also brightens it.
- Polymer putty. It has better properties compared to similar formulations.
Putty price
When a decision is made on how to putty the walls under the wallpaper, then the price of the mixture is taken into account. It depends on the type, manufacturer, composition and mass. For example, a finished putty is more expensive than a dry mix. As for the composition, the highest price for a polymer product.
In addition, considering the question of how much it costs to putty the walls under the wallpaper, the area of the room is also taken into account. The larger it is, the greater the putty consumption will be, respectively, the costs will also be higher.
Putty calculation
If the repair is done with your own hands, then the non-professional craftsman must make all the calculations himself. To understand what is the need for putty, it is necessary to take into account the area of the room, as well as the relief of the walls. Here are the formulas to be guided by:
- 1-3 kg per 1 m2if putty is applied with a layer of 2-5 mm;
- 5-6 kg per 1 m2if the wall surface has numerous defects and the application of a layer with a thickness of 7-10 mm is required.
Finishing putty consumption is 0.5-1.5 kg per m2.
Necessary materials and tools
Before starting work, the tools and materials necessary for construction are prepared.
Tools
To putty the walls under the wallpaper you will need:
- drill with mixer nozzle if dry mix is used;
- grater for grinding the surface;
- containers for the preparation of solutions;
- primer tools (roller, brush or spray gun).
Materials
To putty the walls, you will need materials:
- deep penetration primer;
- start putty;
- finish composition;
- sealant or foam (if deep cracks are found in the wall).
Surface preparation
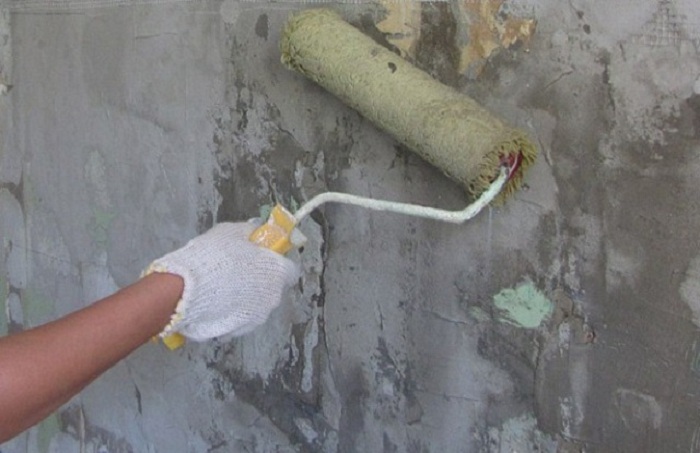
Instructions for preparing the surface before applying putty is extremely simple. The first thing to do is remove the old coating. Further, the mills are cleaned of dust and pollution. After that, the walls are checked for defects. If large cracks are found, they are closed. If this is not done, then the putty over time will exactly repeat the defect on which it was applied. To prevent this, the crack is artificially expanded and cleared. Then a primer is applied. Work stops before the composition dries. The surface is primed and dried again. After that, the hole is closed. To do this, it is recommended to use sealant. If the crack is deep, then it is filled with foam. When the composition hardens, the surface is leveled with a grinding grater.
Wall putty rules
If the repair is carried out independently, you must carefully read the rules for puttying the walls.
Cooking composition
The finished composition sold in buckets does not need preparation. If a dry mixture is used, then it is diluted with water. Ratios are indicated on the packaging. When the components are connected, the composition is mixed with a mixer until a thick consistency. Then putty is left for 15 minutes, stirred and used as intended.
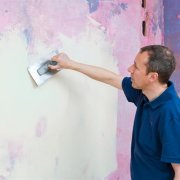
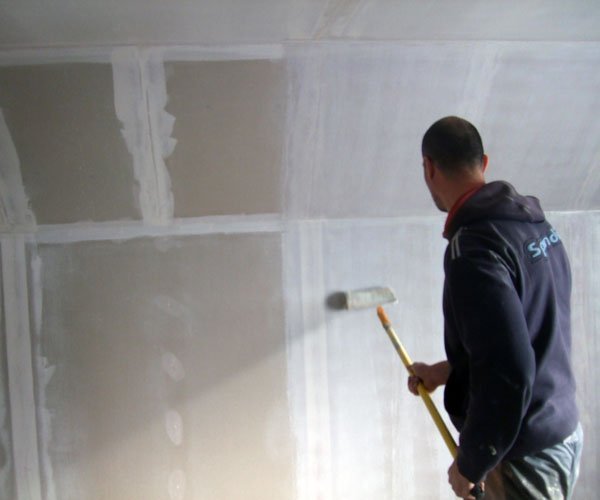
Priming walls
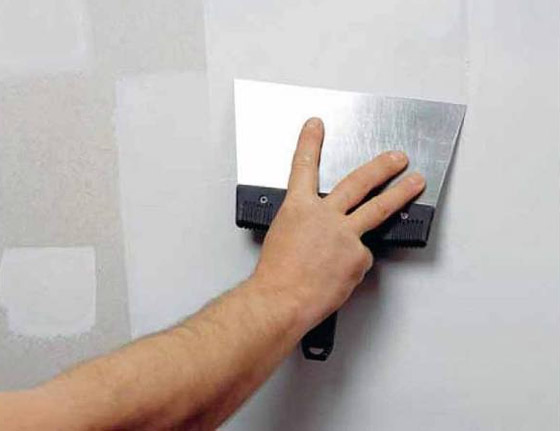
Before applying putty, the walls are primed. To do the work, use a brush, roller or spray gun (as in the photo). The composition is applied to the surface in two layers, each of which is left to dry before continuing.
Application of the starting layer
Putty on the walls for wallpapering is applied in two layers. The first is performed by the starting lineup. The product is applied to the surface with a wide spatula. Starting putty is treated the entire surface of the wall. Work is carried out in a constant indoor climate - without ventilation, the fan or heater turned on.
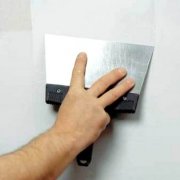
Puttying corners
Putty is applied to corners with a special spatula for slopes and corners. The composition is distributed over the entire surface - from floor to ceiling.
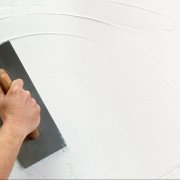
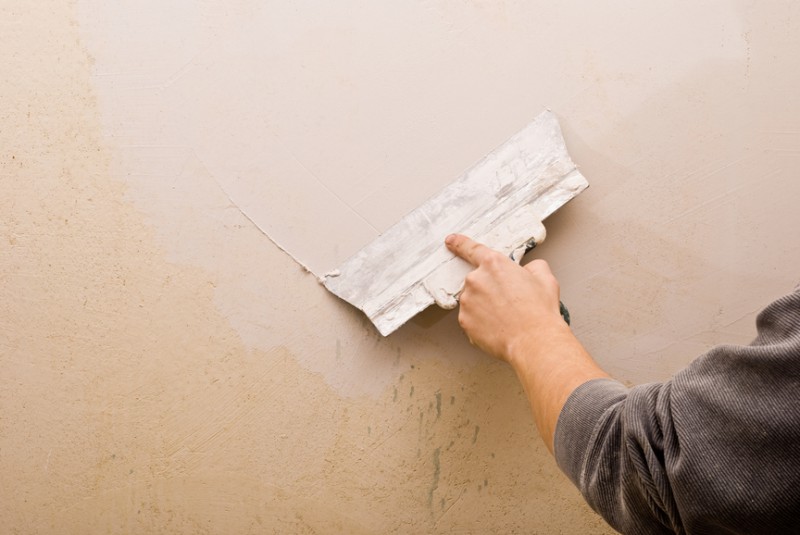
Putty Finish
The final layer of putty is applied with a wide spatula. The wall is being finished with a finish. Layer thickness - 1 mm. The climate in the room is also maintained constant - without airing or overheating.
Surface grinding
When a putty top coat is applied, leveling is performed.For this, the entire construction base is treated with a grater. Work is recommended to be carried out in a respirator and glasses so that dust does not get into the mouth and eyes. When the alignment is completed, a primer is applied to the wall, and after the composition dries, the finish is done.
The video in this article clearly demonstrates how to properly putty the walls before wallpapering.
Independently putty on the walls can even be an unprofessional master. The main thing is to choose the appropriate composition and carefully familiarize yourself with the algorithm of work.