Primer for the ceiling: its types, tips for use

Smooth, beautiful ceiling gives any room a well-groomed and stylish look. And for its high-quality finish, an important point is the primer correctly made for the ceiling.
In this article we will consider what types of soil there are, what kind of primer to choose for the ceiling with various finishes. Consider the nuances of its application, how the primer of the ceiling is carried out before wallpapering, applying paint or installing tile materials.
The content of the article
Functions that the primer performs
- Improving the adhesion of the ceiling to the finishing material.
- Reducing the consumption of finishing materials (glue, paint, plaster).
- Surface hardening. Particles of the primer penetrate the surface of the ceiling and form strong joints.
- Ensuring uniform absorption.
- Leveling the ceiling.
- Antibacterial function.
- Decrease in moisture absorption by a ceiling surface.
- Extending the life of the subsequent finish.
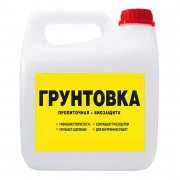
Primer is a homogeneous liquid, which consists of a film-forming substance, additives and a pigment-dye (seeTypes of construction primers and their scope).
With it, you can create the perfect ceiling surface. For example, using colored soil, you can hide the wood texture or spots on the ceiling and the paint used in the future will lie beautifully. The number of layers applied to the ceiling is determined individually - it depends on the state of the surface.
Types of ceiling primers, depending on the composition
The choice of coating for the ceiling depends on several factors - the material from which it is made and the coating that will subsequently be applied. In order to decide which one to choose a primer for the ceiling, one should not be too lazy and carefully study the information on the package. The instruction will allow you to make the right choice.
Primer ceiling - which one to choose:
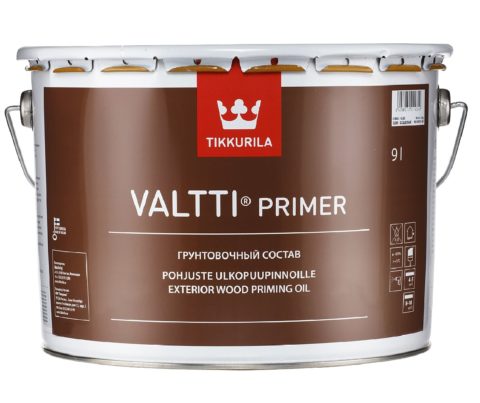
- Alkyd soil. Very strong impregnation. It is applied to drawing on metal, a tree and even a tile. It is forbidden to apply on plaster and GKL. Usually, this primer is used to primer the ceiling before painting with alkyd enamels and paints. Drying time up to 15 hours.

- Acrylic primer. The most versatile coating. It does not have an unpleasant odor. It penetrates very deep into the work surface. Use for drawing on a brick, concrete, GKL, a tree, wall-paper, plaster. This coating is not used for priming metal. These compounds have a very reasonable price. The acrylic compound performs a primer before painting the ceiling with water-based paints and applying tile glue. Such formulations dry out within 5 hours. There are modifications: a deep penetration primer, a colorless, antifungal primer.

- Shellac soil. They are applied to ceilings made of coniferous wood, since such a primer does not allow resins to stand out. Dries in a few hours.

- Polyvinyl acetate primer. It is used for the treatment of concrete, wood, surfaces with plaster.

- Mineral soil. The main purpose is the impregnation of concrete surfaces, as well as bricks, expanded clay concrete and gas silicate blocks. Belongs to the category of quick-drying.

- Epoxy primer. Apply to concrete surfaces and metal.

- Aluminum primer. Used for wood impregnation.It isolates the tree from moisture, which creates an obstacle to the formation of mold and fungi.
- Silicate soil. It is used for application on brick, concrete and plaster. Alkalis are present in the composition, which prevents the formation of microorganisms. It is mainly used for outdoor applications.

For ceilings of residential premises, mainly use acrylic, mineral and alkyd primers.
Important! Experts advise to purchase compositions of the same manufacturer for preliminary and finishing ceilings. This can improve the quality of work.
The primer for applying to the ceiling is quite capable of preparing yourself:
- Ground deep penetration.
For this you will need: 1 liter of PVA glue, 8 liters of water, a little cement (no more than a glass). Pour water into the glue (stirring) and mix thoroughly. Add cement. Place until smooth. Filter through several layers of gauze. It can be applied to the surface. (cm.Primer consumption of deep penetration per 1 sq.m)
- Primer for reinforcing the ceiling.
Solutions of copper sulfate (1 liter of water and a glass of copper sulfate) and bone tile glue (10%) are prepared. The glue solution is mixed with drying oil (30 g), laundry soap (0.25 kg), copper sulfate is added.
Water is added to get 10 liters. The sifted chalk powder (2 kg) is filled up. The whole composition is thoroughly mixed and rubbed through a sieve.
However, industrially produced compounds surpass such soils in their characteristics.
Stages of the ceiling primer
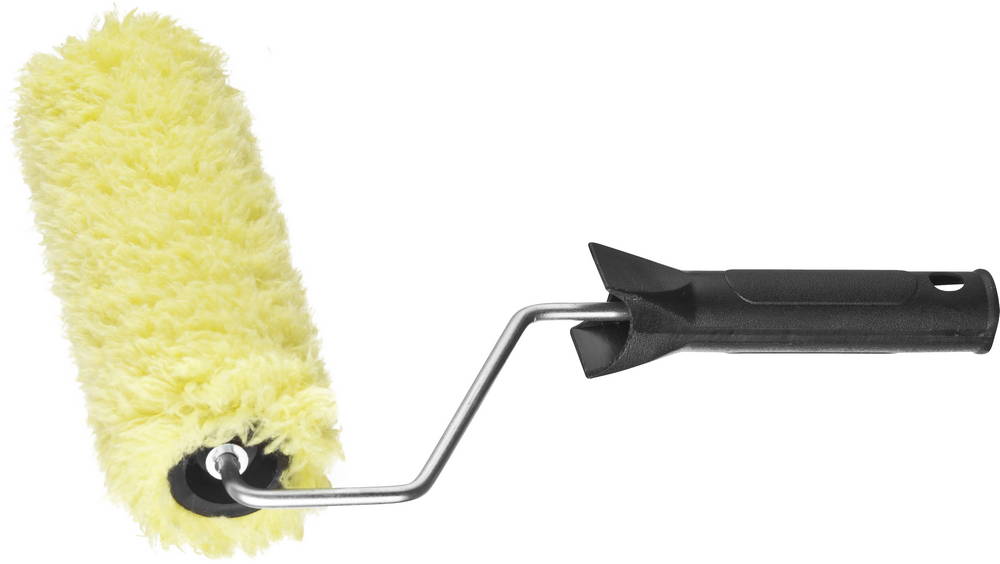
Tools that will be needed for applying a primer:
-
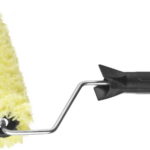
- Roller
-
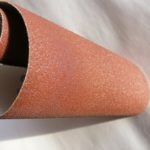
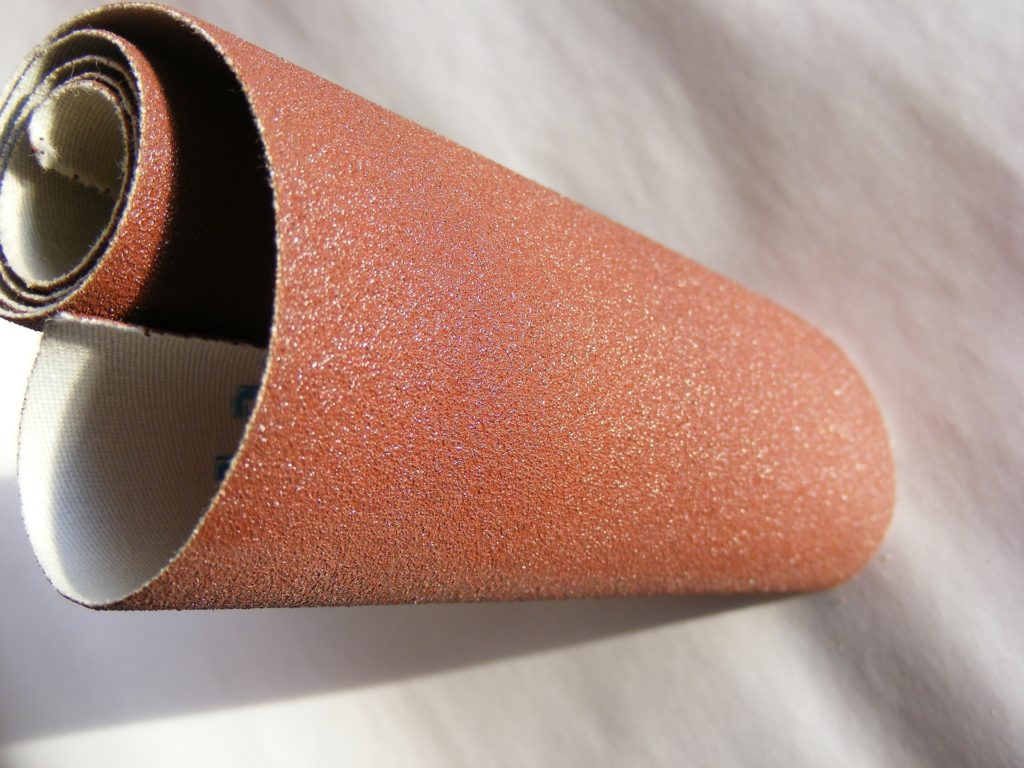
- Sandpaper
-
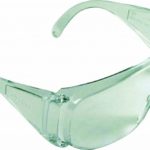
- Eye protection glasses
-

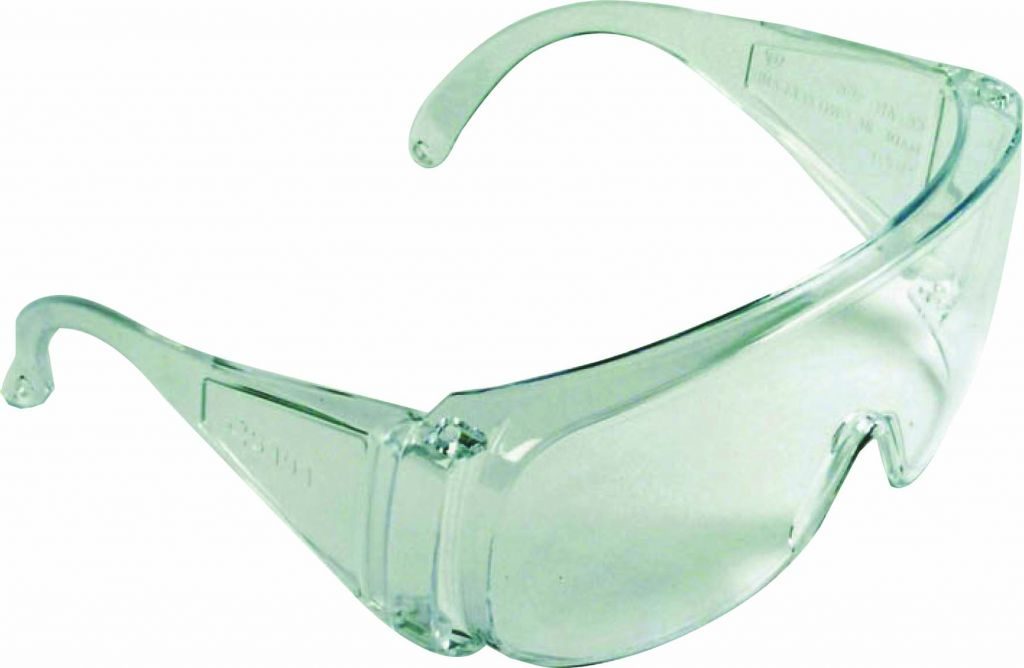
- Soil tank
-
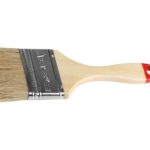
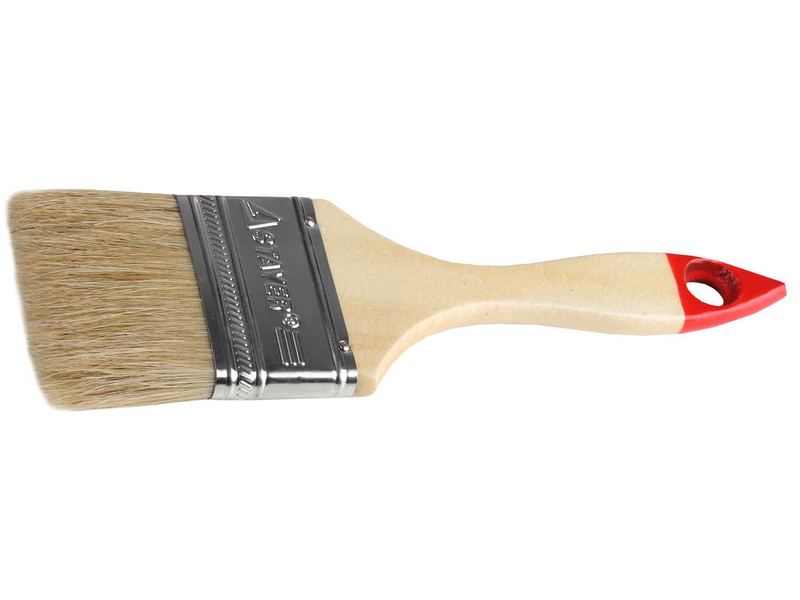
- Brush
-
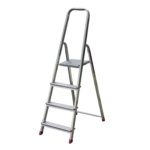
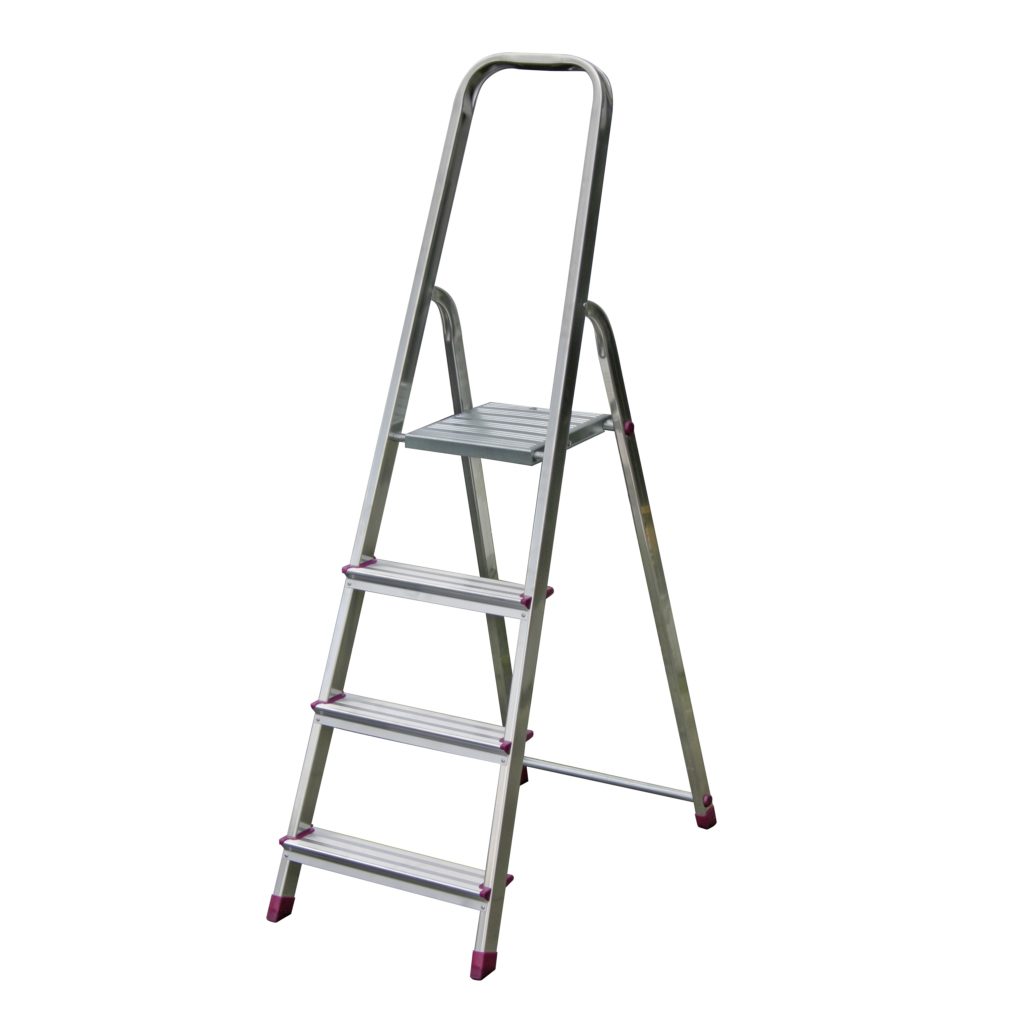
- Ladder
It should be noted that ceiling decoration it is advisable to carry out before the start of work on the walls and floor. Let's take a step-by-step look at how the primer on the ceiling is done with your own hands.
Surface preparation
The room is freed from furniture, or it is covered with a film to prevent dirt and drops of soil from falling onto it.

Depending on the previously applied coating, whitewashing is washed off, wallpaper or tile is removed.

Using a spatula or sandpaper, peeling and glue residue are eliminated. Old paint can be removed using a spatula and heating the surface with a building hairdryer.
If necessary, the surface is washed with water. The remaining work should be carried out after the ceiling has completely dried.

If there are cracks or voids in the joints, they are all repaired using putty. After this, wait until the ceiling dries. Before priming, it is better to degrease the clean surface of the ceiling.
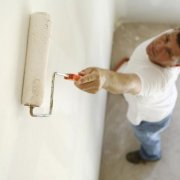
Soil application
The composition is poured into a tray (suitable for the size of the roller), in which it is convenient to apply to the roller. The roller is impregnated with the solution, while the excess is removed using the ribbed surface of the bath.

The procedure for priming:
- Priming the ceiling is carried out evenly by smooth movements. It is very important to ensure that the soil lays down evenly, without leaving traces.
- The primer is usually applied in two layers.. The first is parallel to the wall in which the window is located. In places where it is difficult to get with a roller, the primer is applied with a brush.
- After application, wait as long as the primer dries on the ceiling. (according to instructions). Then apply a second coat, perpendicular to the first.
- If in the future paint will be applied to the ceiling, it is better to use a roller with a pilewhich will remove unnecessary air bubbles.

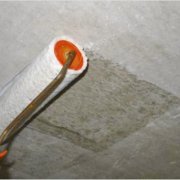
If you have the necessary tools, the ceiling primer can be sprayed with a spray gun (as shown in the photo).

Thus, the ceiling is primed before wallpapering, painting and gluing tiles.