Venetian putty: features of use
Since ancient times, Italy has been famous for its master architects and artists, and to this day, this country has many associate with beauty and luxury. But not the luxury that is inherent in Baroque palaces, which are buried in chaotic ligature of pilasters and gold.
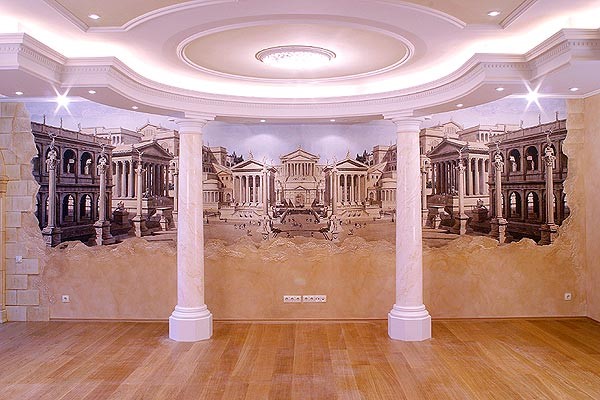
Italian architecture and design are also characterized by the Venetian putty, which combines a complex relief with a laconic variety. In this article we want to talk about what it is and how to work with the Venetian coating, and also tell you how to apply this material with your own hands, even if you had no such experience before.
The content of the article
What it is
An interesting feature of this material can be considered that for many centuries its composition has not changed, modern additives have been added to improve the quality and durability of the coating, but the application and manufacturing technology itself has remained the same.
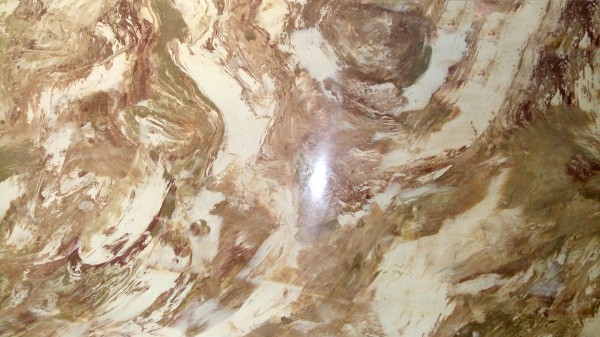
The basis of the finished mixture is stone dust and slaked lime as a binder component. It is dust that creates the very effect of natural stone.
Traditionally, it is marble, but there are other textures that mimic:
- Granite.
- Malachite.
- Onyx.
- Jasper.
And many other breeds with a pronounced texture.
But the Venetian putty is not limited to imitation of stone, in addition to this, it can be:
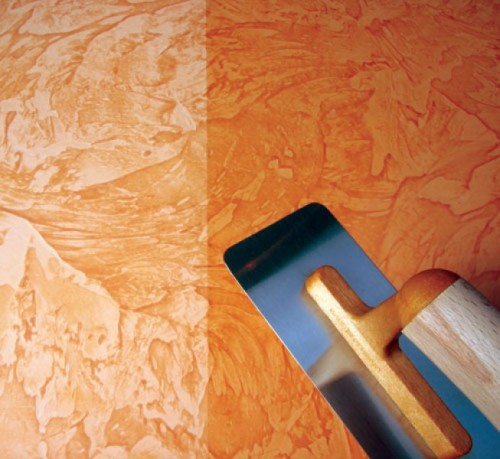
- Solid with mother of pearl. Material with a smooth surface and soft color tints.
- Textured. With embossed texture of various colors.
- Craquelure. Coating technology, in which the top layer is covered with a network of cracks through which the color of the substrate appears, as shown in the photo below.
There is a Venetian cover and two significant drawbacks. Namely: the difficulty in applying and creating some effects, and the relatively high price of finished mixtures. To solve the first problem, a detailed instruction is given below, but we will try to deal with the second right now.
Mixture preparation
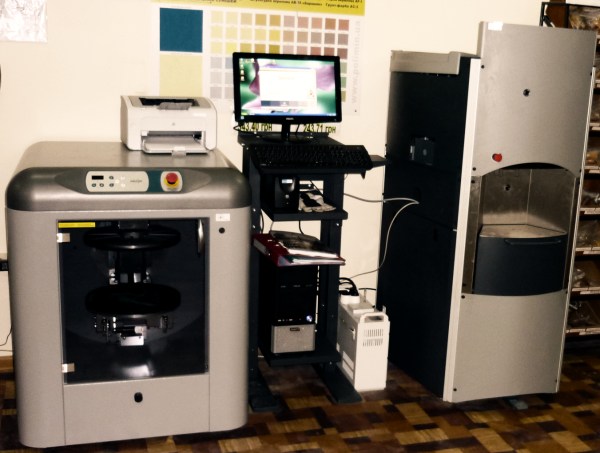
To create the effect of Venetian plaster, you can use the usual acrylic mixture, which is sold ready to use. We also need two color tones, each of which must correspond to the color of the selected coating.
Important! When making the mixture yourself with the help of color paste, you should always calculate the costs. Since it is impossible to calculate the exact Venetian coating, you should buy and prepare the plaster with a margin. Otherwise, it will be practically impossible to obtain an identical color repeatedly.
Acrylic Putty divided into two parts with an approximate ratio of 7 to 3, and in most we add light paste, and in the smaller dark. The ratio of color to the finished mixture is selected by eye, for this you need to constantly mix the mixture with a mixer and gradually add the paste until the desired color is obtained.
First, a layer of light shades is applied, it acts as a substrate, and then dark, which creates the effect. For more complex and textured imitations, there is another way to prepare the mixture yourself.
Plaster mix from ready putty
To get a pearl coating, we need:
- Putty, preferably on an acrylic basis.
- Soil of white color.To create a texture and slow down the hardening process.
- Color paste of the chosen shade.
- The varnish is neutral to acrylic components.
The table below shows the ratio of all components and their proportions:
| Component | Proportions in shares |
| Putty | 1 |
| Priming | 0.5 |
| Coloring pasta | Before finding the necessary shade |
| Matt varnish | Based on 1 liter per 5 liters of the finished mixture |
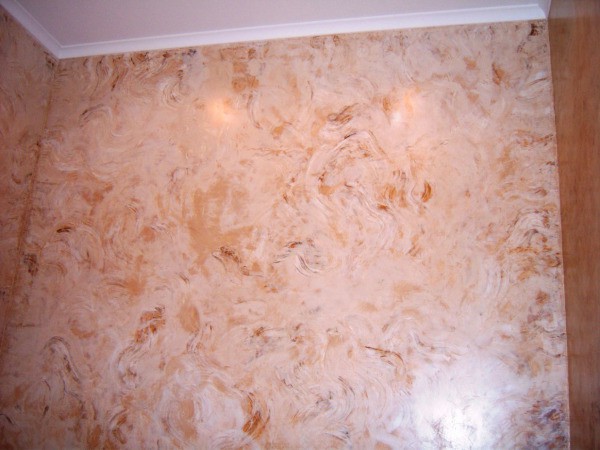
Thus, we get ready-made Venetian plaster of putty with a pearly sheen and bright texture. Each such mixture is unique and therefore difficult to give advice on its application. Therefore, we will consider the technology on the finished mixtures.
Advice! self-preparation of the mixture in most cases is prepared “by eye”, and this requires some experience in finishing work. If it is not, it is better to use ready-made mixtures and not take risks.
We apply a venetian putty with a marble effect
The whole process consists of three stages. Each of which takes a considerable amount of time and effort, but the result will not be long in coming.
Stage one
So:
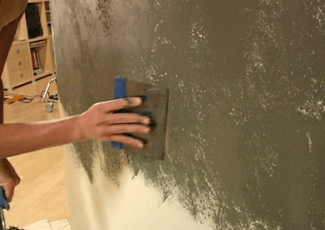
- On a cleaned and primed surface (see Primer walls and all for that matter), putty in small strokes with the intensity necessary to create the selected pattern.
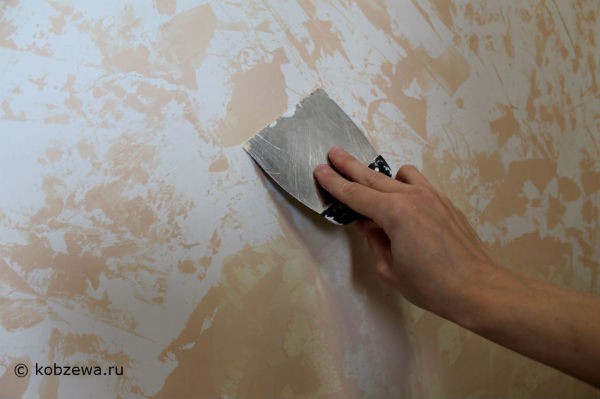
- For work, it is better to use a small metal spatula, which must be periodically moistened with water so that the mixture does not stick to the tool and stretches along the wall.
- Brush strokes should constantly alternate and change direction, since there are no straight lines in nature. To focus on the finished finish, experts advise applying the coating in the direction from the corners and converging in the center of the wall.
- The main thing is to avoid influxes and sharply marked strokes, if they did turn out, then this place can be immediately rubbed with a trowel or grout.
- When the coating is ready, it must be allowed to dry completely. This can take from several hours to several days, depending on the quality of the mixture and the temperature in the room.
Stage Two
When the first layer has dried, you need to lightly clean the most prominent places with sandpaper with medium grain size. After that, the entire surface is cleaned of dust and you can proceed to the second layer.
Now we take a lighter shade and apply light strokes with a small spatula to the wall. It is this layer that creates the streaks characteristic of the stone, which means that it is necessary to approach the issue creatively.
Advice! From time to time, you need to move away from the wall and look at the result of your work. Thus, you can see all the places that are knocked out of the general concept.
Stage Three, Final
The surface is sanded again and additional strokes can be applied if necessary to complete the drawing. Now the entire coating should dry thoroughly, after which it must be additionally coated with a layer of varnish to give shine and gloss.
And you can familiarize yourself with all the stages of applying the Venetian coating in more detail by watching the video in this article.
Conclusion
Despite the apparent complexity of the application, the process is quite addictive and the necessary skill comes. Of course, craftsmanship and skills will be needed to create complex bas-reliefs, but imitation of natural marble can be created independently and even at minimal cost.
