Moisture-resistant putty for the bath

Despite the modest dimensions of the bathroom, its high-quality repair sometimes requires much more investment than the repair of residential premises, since here it is necessary to ensure the durability of the finish in conditions of high humidity and variable temperature conditions. And durability in many respects depends on what putty to choose for a bathroom and how high-quality to prepare a surface for its application.
We will talk about this in this article.
The content of the article
The choice of putty for the bathroom
To determine the type of putty, we need to find out the requirements for its properties and characteristics, and then choose from those materials that meet these requirements.
What properties should putty have
Regardless of which decorative finish is provided in the bathroom - tiles (see Tiling the bathtub: how to do it right), paint, plastic panels (see Finishing a bathroom with plastic panels: how to do it yourself) or something else - a wall-leveling compound should have the following properties:
- Moisture resistance. During the entire period of operation, the coating should not break or peel off from the substrate under the influence of moisture.
- Durability. The service life of the finished coating without loss of quality should be long and be at least twenty years.
- Resistance to temperature changes. Since not only air humidity but also its temperature is constantly changing in the bathroom, these differences should not lead to deformation of the putty layer, its expansion and contraction. Otherwise, the lining will not hold on it.
Note. These are the main criteria by which to choose a composition. There may be others related to your individual requirements. For example, if the walls are planned to be painted, then the surface should be crackless and perfectly smooth, which means that the mixture should not shrink and consist only of components of a very fine fraction.
What mixtures can be used in the bathroom
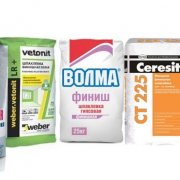
Putties based on cement and polymer binders fully meet the requirements listed above:
- Cement waterproof putty for a bathroom It is made of high-grade Portland cement, which, when exposed to moisture, only becomes stronger. Freshly applied coatings are even recommended to be periodically wetted or sprayed with water. As a filler, in addition to fine sand, crushed marble or clinker chips are added to the putty, and for the convenience of applying and improving operational characteristics, various plasticizers, modulators, hardeners.

Tip. If you are going to paint the walls or give them relief with a decorative roller and other similar tools, look for pigmented putty of the color you need to reduce paint consumption.
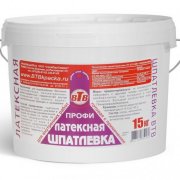
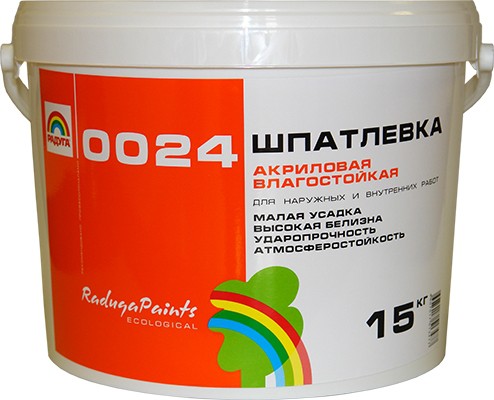
- Moisture-resistant polymer putties are made on the basis of acrylic or latex and also contain various mineral and synthetic additives.They are more plastic and convenient in use, do not shrink, and remain viable longer after preparing the mixture or opening the package with the finished composition. And if it were not for the high price compared to cement analogues, then polymer putty would surely lead in the list of materials for decorating rooms with high humidity.
Tip. You will not be mistaken if you take any facade putty for leveling the walls in the bathroom. It must be a priori resistant to any climatic influences, including temperature changes and direct exposure to moisture, but can cost more.
But gypsum mixtures here are absolutely unsuitable, even those that are labeled as moisture resistant. They are not able to resist the concentration of wet and hot steam that are often present in the bathroom, not to mention possible leaks from above.
How to putty the walls in the bathroom
Even if you are confident in the quality of the chosen putty and know how to work with it, you can’t just align the walls with it and tile it on top. The surface must be carefully prepared.
Training
Instructions for preparing the surface for puttying include its cleaning, disinfection and priming (see Primer before puttying walls - is it needed) All this is done in order to keep the coating firmly on it and resist the appearance and growth of mold.
So:
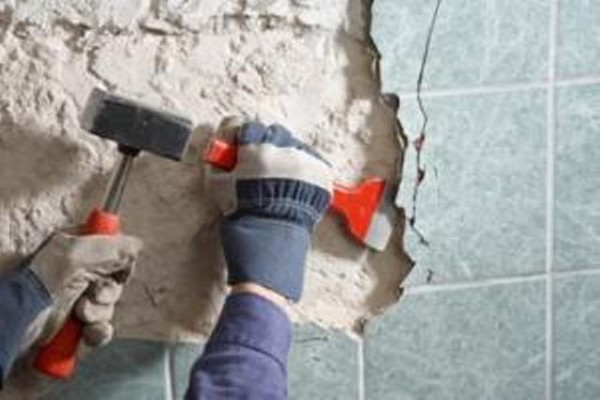
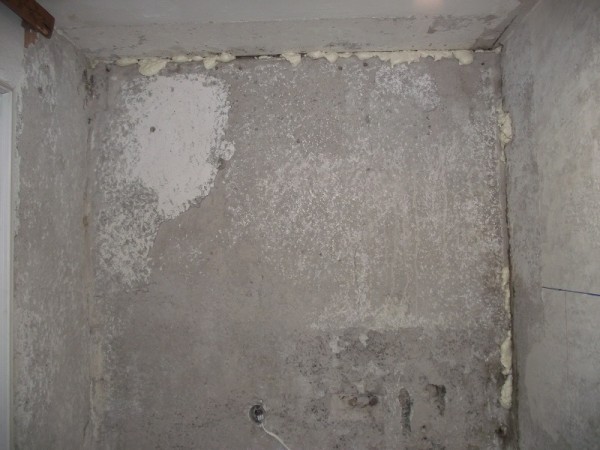
- Cleaning consists in removing old, poorly adhering coatings from the walls, and cracking. If there are protruding irregularities in the form of pebbles, influxes of plaster, metal fittings or wooden mortgages, they are knocked down with an ax or cut off with a grinder. After all these actions, the walls are cleaned with gasoline or solvent from greasy stains and freed from dust.
- Further, their condition is assessed, and if the surface is seriously damaged, has large dents and cracks, then they are filled with cement plaster. And if necessary, it aligns the entire plane.
- Since humid environment and warm air are ideal conditions for the development of fungal mold, the next mandatory step is the treatment of the walls with an antiseptic.
It is important! If the surface is wet, it is pre-dried, and if there are existing traces of mold, they are cleaned with a wire brush and burned with a blowtorch. Of course, first of all, it is necessary to find and eliminate the source of its appearance.
- Finally, the walls are treated with a deep penetration primer, which will fill all pores and microcracks, strengthen the surface and make it more susceptible to subsequent puttying.
At this stage, the preparatory phase is completed, it remains only to wait until the primer layer has dried.
Alignment
The purpose of the putty is to increase the moisture resistance and strength of the surfaces and create an even plane for subsequent decorative finishing. Since we use putty moisture-proof for the bathroom, the first task, subject to quality preparation, is solved by itself. But to level the walls will have to try.
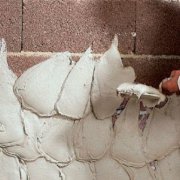
Depending on their initial state, several layers of putty may be required, since it cannot be applied in a thick layer - it will not adhere well and crack.
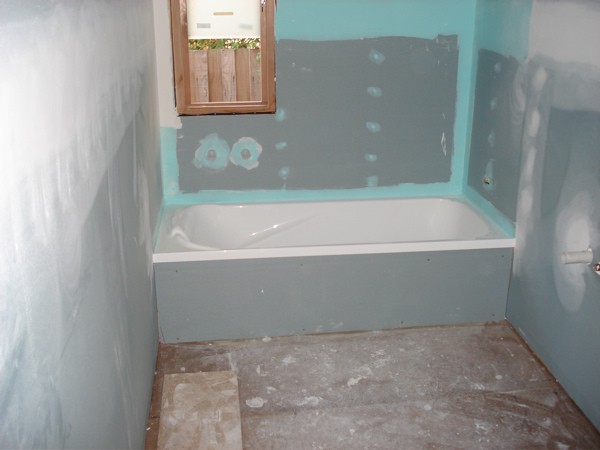
Therefore, first we fill with a solution all the recesses and cracks or joints and attachment points, if we are talking about plasterboard puttying (how to do it correctly, read the corresponding article). We wait for drying, sand the “patches” and process them with a primer, after which you can apply a continuous leveling layer or several layers.
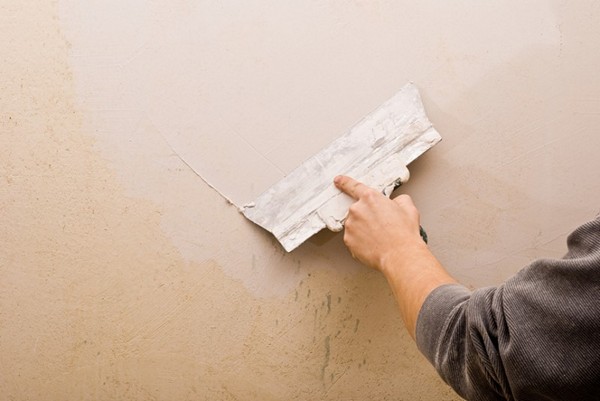
In the process of this work, we constantly monitor the evenness of the surface and its position in the vertical plane with the help of a long building level.Ideally, each applied coat should be primed after drying.
But in practice, it is often used only before the last finishing layer, which is usually done with another putty - less grainy and more plastic. It is called finish.
Before applying the wall, it is necessary to carefully sand it, removing all splashes, flows and traces of the spatula, since the thickness of the finish layer should not exceed 1 mm. However, all this makes sense only if painting is provided.
The surface prepared for tile may not be perfectly smooth, and roughness will only benefit from adhesion to the tile adhesive.
Conclusion
There are no significant differences in the leveling of surfaces with normal or moisture-resistant putty. And in that, and in another case, the work is carried out according to one technology, the nuances can be attributed only to antibacterial impregnation, which is usually not required in dry rooms.
If you first encountered the need for self-repair in the bathroom, the video in this article will help you get more information on this topic.