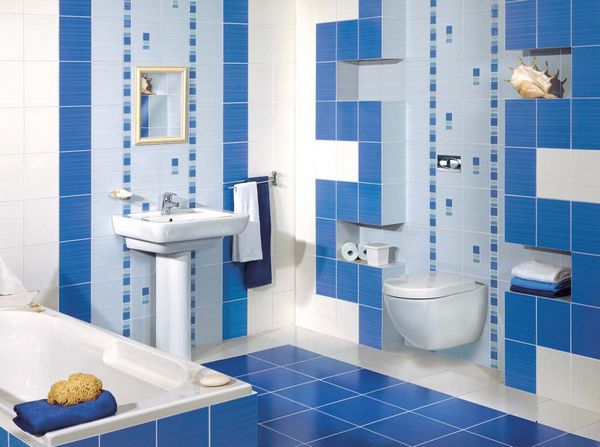
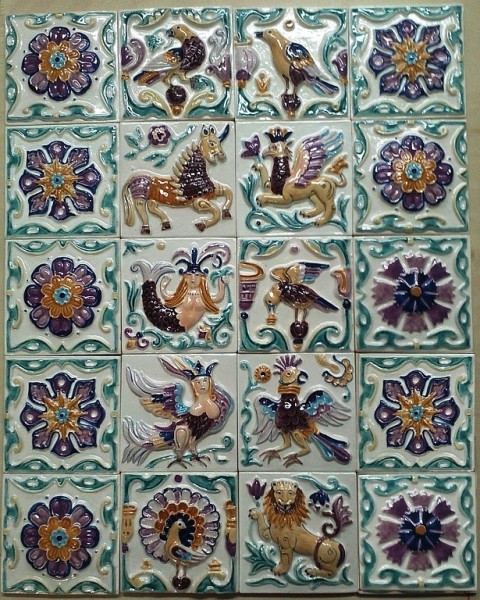
Facing the internal walls with ceramic tiles: choose and make
Ceramic tiling has become popular for quite some time. You can replace the tile with other materials, but in some cases it can be simply irreplaceable.
Today we decided to tell how the facing of internal surfaces with ceramic tiles is done. You will learn to do this work completely with your own hands, then the price of the work will be much lower.
An instruction for the correct execution of this work will also be offered.
The content of the article
Benefits of Ceramic Tiles
Ceramic tile for internal wall cladding has a number of advantages and disadvantages. Before the final choice of material, you must first know how much it is suitable for your room.
So:
- Ceramic products for interior cladding will fit almost any room. The main thing is to choose it correctly. It is made with environmentally friendly material and does not harm your health;
- It also tolerates temperature extremes. Therefore, it is possible to clad rooms without constant heating.
- It tolerates high humidity. Therefore, it is possible to use even in a bath;
- Ceramic tiles for internal wall cladding are perfectly attached. And you do not need to hire specialists for facing. Everything can be done completely with your own hands and without resorting to outside help;
- Ceramic materials of the inner lining can be selected to the desired size and shape. Also in retail there are many colors and shades. Therefore, you can choose for any design;
- This is a fairly durable and not fireproof material that will last for a long time.
Types of ceramic tiles
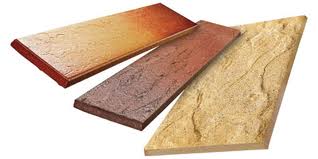
There are several types of ceramic materials for internal cladding. Therefore, before buying it is worth choosing exactly what you need.
| Title | Features |
| As a manufacture, dry pressing is used. An opaque glaze is applied to the surface. Quite durable, double firing is used in the production, which significantly increases its wear resistance. Designed for wall decoration of any type of room. |
| At production double burning is applied. For production, only high-quality and expensive clay is used. It has a white color. It is used for interior decoration.
| |
| This tile is porous. Glaze is not covered. It has high strength and wear resistance. It is not necessary to apply in production rooms. It has many colors and shades. | |
| This tile is made by strong sintering of clay. Pretty resistant to mechanical stress. It is applied not only for internal, but also external works. It does not have many colors, it is mainly brown and yellow in color with a different shade. | |
| It is made with non-kaolin clay. After production is not glazed. It is done by pressing. Homogeneous structure leaves no marks after damage. It is possible to make cladding in industrial premises. |
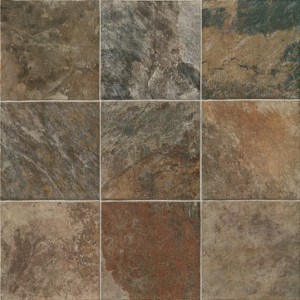
Ceramic tiles for interior wall cladding selected by the parameters described above. First you need to see photos and videos. Choose the right design and only then make a purchase.
Ceramic Tile
Nowadays, wall cladding with ceramic tiles can be considered the most popular and in demand. It is an excellent material with strength and reliability.
For this reason, ceramic tiles are usually installed in bathrooms and toilets, showers, pools and kitchens. A tile for the floor can be seen in the corridor, hallway or on the balcony.
Tiling
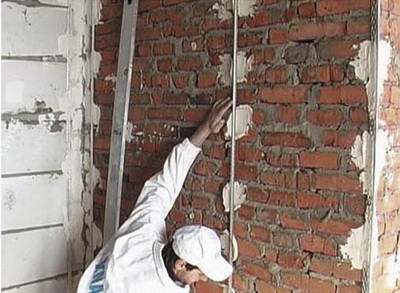
As a rule, the tile is laid on the prepared surface of the walls. It does not matter what material the wall is made of: it is brick, blocks or reinforced concrete. In the event that the wall is built of brick, before laying the tiles, you need to plaster the walls.
Surface preparation
Before mounting, you should make the plane just plain. The quality of fastening and appearance will depend on this.
Attention: It should be noted that the plaster must be applied not in three layers, as always, but in two: spray and primer. A cover - the last layer of decoration - is not required to be applied under the tile, since the ceramic tile will be the cladding and will play the role of a leveling material.
So:
- First we need to determine how flat the plane is. For this, a fishing line is used. She is pulled diagonally:
- If you need to apply a layer of plaster up to one cm. Then you can use just a dry mixture. If the layer is larger, then it is worth using a cement mortar;
- After applying the plaster, do not immediately fix the tile. Before starting, it is necessary to apply a layer of primer and allow the surface to dry and only then proceed to the lining.
Fastening elements
After proper surface preparation, you can proceed to the cladding.
This is done as follows:
- Before starting work, it is worth distributing the material correctly. Choose the correct tile size.
Immediately it is worth calculating how to fix it. Not always the last row enters completely. So it may be correct to trim the two extreme bands. Then it will look like a pattern; - Never apply glue and mortar directly to an element. First you need to attach the tile to dry and then fit it. And only after that do fastening;
- For cutting, a tile cutter is used. Or if you need to make a curve, then a grinder is used for this;
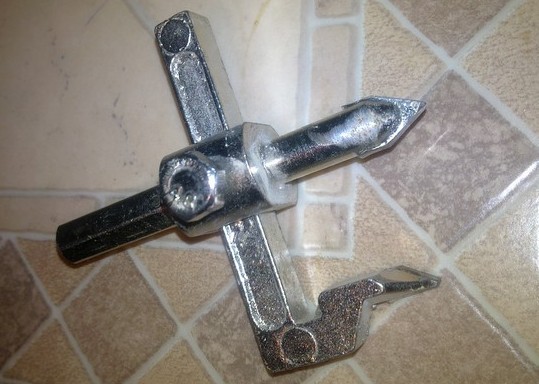
- If you make holes for pipes, then a crown is used for this, which should be purchased in advance. And pay attention to the diameter. It is different.
We put the tile on a flat surface and after that we make a hole using a drill and a crown. You can also use a ballerina.
It is also available for sale. Only when making holes do not make sharp pressure. Otherwise, the material will simply tear and the icing will deteriorate;
- Lay ceramic tiles should start from the floor. In the event that the floor is not prepared, then before laying the tiles you need to install rails around the floor perimeter, they will be installed tiles. If the floor is already prepared, there is no need to install rails.
- The installation of ceramic tiles is carried out using two schemes. The first scheme uses beacons. In the second - lighthouses are not used. The first method is suitable for a fairly large room. However, for a bathroom or toilet, ceramic tiles should be installed in the second way.
- For the second laying method, we begin the process of installing ceramic tiles from the lowest corner of the room. However, before this, a vertical line should be beaten.
- In the upper corner of the room, screw a self-tapping screw, hang a plumb line on it, draw a line along the plumb line on the wall surface, which will serve as a beacon. First you need to lay the first row.
Caution: For all installed tiles, check for evenness in the planes.For this purpose a level is applied. The general evenness of a number of tiles can be checked by the rule with a level.
- Watch the flow rate of the solution. It is not advisable to immediately dilute a lot of mortar, since the process of laying tiles takes a lot of time, the solution will lose its quality or dry after a while. If you use tile mortar based on glue, it can be applied both on the tile and on the surface of the wall. Cement mortar is easier to use. It should be applied only to the tiles.
- Professionals advise laying tiles first on half the surface of a wall the size of a square meter. Namely: you need to put one row of tiles half a meter long, then put the second row on top and so on. After filling the plot, move further horizontally.
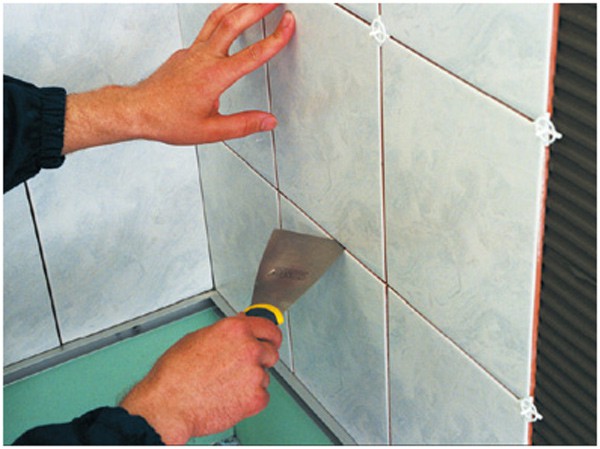
- If the design project provides for laying tiles with a suture method, then in order to create seams, inserts in the form of a cross are used, which, as a rule, are made of plastic. At the end of the work, the inserts must be removed, the seams should be mastic.
- It seems that both methods of laying tiles should be almost the same. However, it should be noted that the method of laying ceramic tiles using beacons requires specialist skills, experience and certain knowledge.
- For example, beacons need to be installed according to a special scheme. As a rule, four lighthouses are placed on each wall: two lighthouses are located in the upper corners, two lighthouses in the lower corners.
The main thing is that you need to install beacons in the right way in all planes. Drive the pins in and pull the thread between the two lower beacons. The thread will provide a level, it will be laid. This thread is called a mooring. - Laying should not begin from the corner of the room, but from the middle. When the bottom row of tiles to the beacons is laid out, the beacons are removed. Then the pins need to be moved to the second row, between them we again pull the mooring. The procedure is repeated again.
- After graduation wall decoration you need to grout the seams. This is done with a rubber spatula. First, the seam is tightly sealed and after that we erase the solution. Let it dry a little and wipe it with a rag.
It can be summarized that laying tiles on the wall is a complex process. It is associated with different types of materials and special tools that you need to be able to work with.
